Don’t want to use ShareX, Lightshot, and Greenshot applications to Take screenshots? Here’s how to take screenshot on Windows 10 OS using built in tools!
If you take a lot of screenshots on your Windows-powered system, you must be aware of the tools like ShareX, Lightshot, and Greenshot – which makes it easier to capture screenshots as per your requirement.
However, some users do not want to install 3rd party applications to take a screenshot, or maybe the Prt Scrn key on your keyboard does not work for them. So, if you are one of them, you should get to know how to take screenshots on Windows 10 using the built-in tools.
Also, we’ll be taking a look at the solutions to help you take screenshots of your login screen and lock screen in the later part of the article.
Note: In case your keyboard isn’t working (or if the specific keys mentioned below do not function), you should try the solutions using the on-screen keyboard.
Table of Contents
How to Take Screenshot on Windows 10: 4 Easy Methods
With the help of Prt Scrn key, Function key, and the Snipping tool, you can start taking screenshots on Windows XP or above.
Note: Snipping tool is compatible with Windows 7 and above.
1. Press Prt Scrn and Copy to Clipboard
When you press the “Prt Scrn” key, it takes a snapshot of the entire screen (or workspace) and copies it to the clipboard. It does not directly save the screenshot as a file on your computer. Hence, to save the screenshot as a file, you first need to paste it into the “Paint” application. This is indeed the best traditional method to take screenshots on a Windows 10 PC.
To find the Paint application, press the Windows key + S to open up the search bar and then type in “Paint” to see it listed.
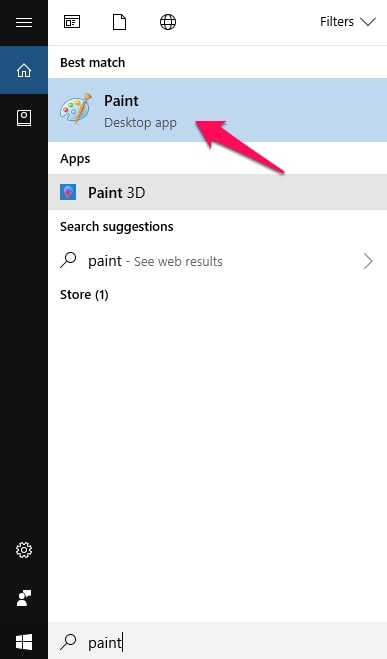
In either case, you can head to the start menu and find the Paint application as well. If – for some reason – the start menu does not work, you can try out the fix mentioned in this article – Fix Windows 10 Start Menu.
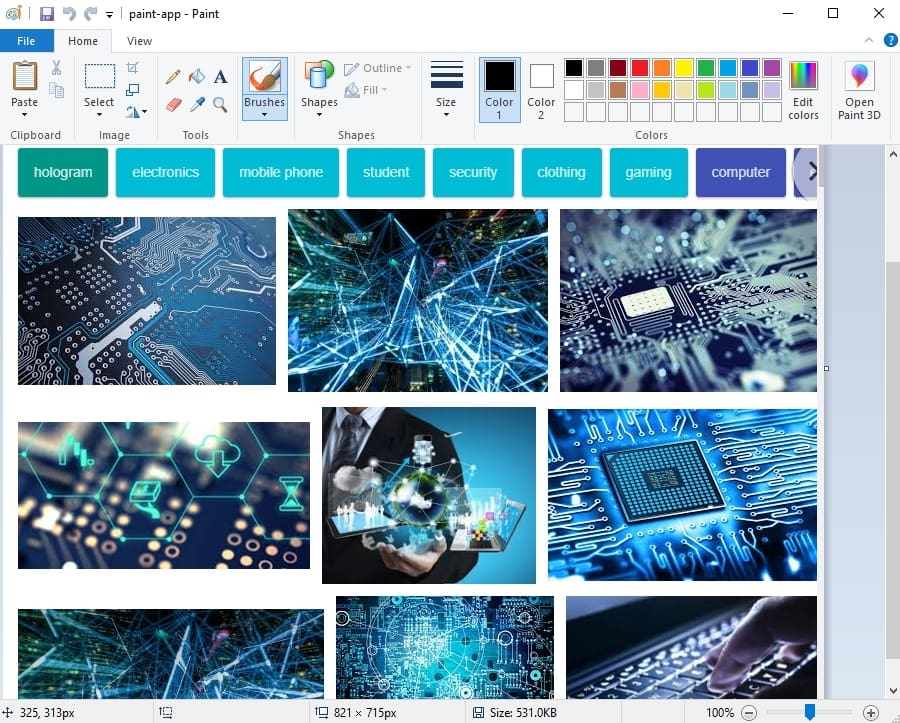
Once you launch the application, only press Ctrl + V to paste the contents of the clipboard (i.e. the screenshot here). Now, you can observe the screenshot in the Paint app as shown in the image below.
Now, press Ctrl + S to save the image as a file.
2. Press Windows Key + Prt Scrn Key – Directly Take the Screenshot of Entire Screen
If you want to directly take the screenshot of the entire screen and save it as a file on your PC at once, then you should be utilizing this technique.
Simply, press Windows key + Prt Scrn key, and the screenshot of the entire screen will be saved in the Screenshots inside the Pictures folder (in our case, it was-> C:UsersANKUSH DASPicturesScreenshots).


3. Take the Screenshot of the Active Window
If you want to take the screenshot of the active window, you can press Alt + Prt Scrn to save the image to the clipboard. Similar to the first method, you need to launch the Paint application and then paste the image to proceed saving it as an image file on your PC.
4. Take the Screenshot of a Specified Area
If you want to take the screenshot of a specified area of the screen instead of the whole screen, you can utilize this keyboard shortcut: Windows key + Shift + S.
The region you selected will be copied to the clipboard, and then you will have to launch the Paint application to paste it. Next, press Ctrl + S to save it as an image file on your computer.
How to Take a Screenshot on Windows 10 Laptop Using Fn Key/Prt Scrn Combo
You should be fine using the Prt Scrn key on most of the devices with the standard keyboard layout. But, if you have a laptop or a portable Windows 10 device, you could observe a Function key which acts as a modifier to enable the use of Prt Scrn key for taking a screenshot. So, for such case, follow the methods below:
1. Take a Screenshot and Copy to Clipboard
In case of a laptop or a portable Windows 10 device, the function key is used to activate/unlock the Prt Scrn key. So, you press Fn + Prt Scrn to take a screenshot of the entire screen and copy it to the clipboard.
Next, you need to launch the Paint application and then press Ctrl + V to paste the image. Finally, you need to save the image as an image by pressing Ctrl + S.
2. Take a Screenshot and Directly Save it as an Image File
Similar to the traditional technique, you need to press Fn + Windows key + Prt Scrn to take a screenshot of the entire screen and save it as an image file in the Pictures folder inside the Screenshots folder (in our case, it was-> C:UsersANKUSH DASPicturesScreenshots.)
3. Take a Screenshot of the Active Window
If you want to take a screenshot of the active window using the modifier, you just press Fn + Alt + Prt Scrn, and the snapshot of the current window will be copied to the clipboard.
Next, you will have to follow the same instruction (as mentioned above) to launch the Paint application and paste the image to proceed saving it as an image file on the computer.
4. Take a Screenshot with Your Microsoft Surface Tablet
If you happen to own a Microsoft Surface Tablet, you won’t be able to take a screenshot using the methods mentioned above. The reason – Surface tablets don’t come with a Prt Scrn key.
So, for that you have a different keyboard shortcut to take a screenshot on Windows 10:
- Fn + Space – Grabs the entire screen and copies it to the clipboard.
- Alt + Fn + Space – Grabs the active windows and copies it to the clipboard.
Similar to the previous methods, you will have to open the Paint application and paste the image to then save it as an image file.
Wondering how to take screenshots on a PC without keyboard shortcuts? Instead, you want a GUI?
Snipping tool is a built-in utility perfect for such users. It was first introduced on Windows 7 and is compatible with Windows 10 as well.

You just need to launch the search bar by pressing the Windows key + S and then type in “Snipping Tool“. You will notice the tool listed as shown in the image below.
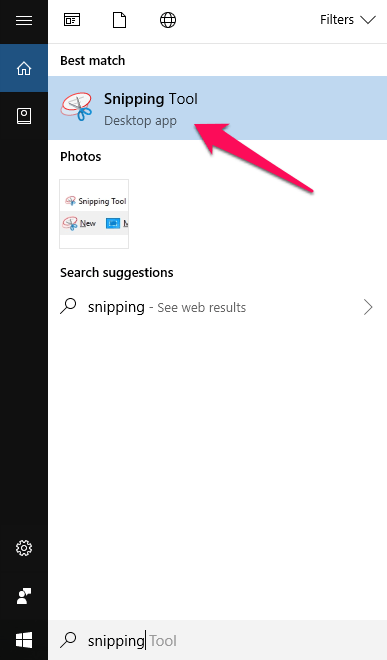

Now, click on it to launch the application.
To take a new screenshot, click on “New.” And, for the preferred mode of screenshots (i.e. full-screen, free-form, window-based, and rectangular-shaped), you need to click on the “Mode” to select it.
You may also choose to select a delay in seconds (Delay) between triggering the option and taking the screenshot.
Using the Stylus
If you happen to use a stylus on your portable Windows 10 device, you can just double-click the eraser of the stylus to take a screenshot, and you can edit and annotate that using the Windows Ink tool.
How to Take a Screenshot of Your Login Screen and Lock screen in Windows 10
While you do need a 3rd party tool to take a screenshot of your login screen. However, you can take the screenshot of your lock screen by a simple method.
To take a screenshot of your lock screen (make sure you’re already logged in):

- Go to the profile options in the Start menu and click on it.
- Now, from the options, choose to “Lock” the system.
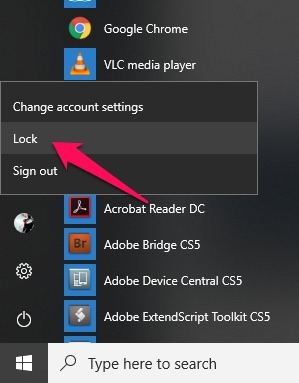

- You will now be greeted with the lock screen. Next, you need to press Prt Scrn to take the snapshot of the entire lock screen and copy it to the clipboard. Finally, you can paste the clipboard content into the Paint application to proceed to save the image as instructed above.
Note: A native method to take a screenshot of your login screen exists (by adding a key to the Windows registry) but does not work anymore.
So, for the login screen, there are no built-in techniques as of now. However, if you still want it bad – you can try using the Ease Of Access Replacer tool. We’ve tested it – and it works like a charm on Windows 10.
Wrapping Up
With so many methods available to take a screenshot on your Windows 10 PC, one does not need to utilize 3rd Party applications (unless you want to clutter up your system).
Well, if that’s the case, why 3rd party applications are being downloaded? Heck, even I utilize “ShareX” to take screenshots. But, why? Is there a difference?
Yes, there are a lot of differences while using a 3rd party application and a native method to take a screenshot. Some of the notable differences are:
- Ability to adjust the image quality.
- Ability to change the image file format easily.
- Custom keyboard shortcuts for quick access.
- Utilize Image hosting services to upload the screenshot and be able to share it in a jiffy.
So, if you require the above features, you may choose to try the tools we mentioned in the first part of this article. However, if you want to take screenshot with little-to-no features required to tweak, the native methods should suffice.


More Stories
11+ Best ThePiratebay3 Sites – Ultimate Pirate bay Alternatives
7movierulz iBomma – 11 Best Alternatives to Download & Watch latest Telugu Movies
How to Spam a Phone Number (7 best apps & services) with call, texts to Get Revenge?