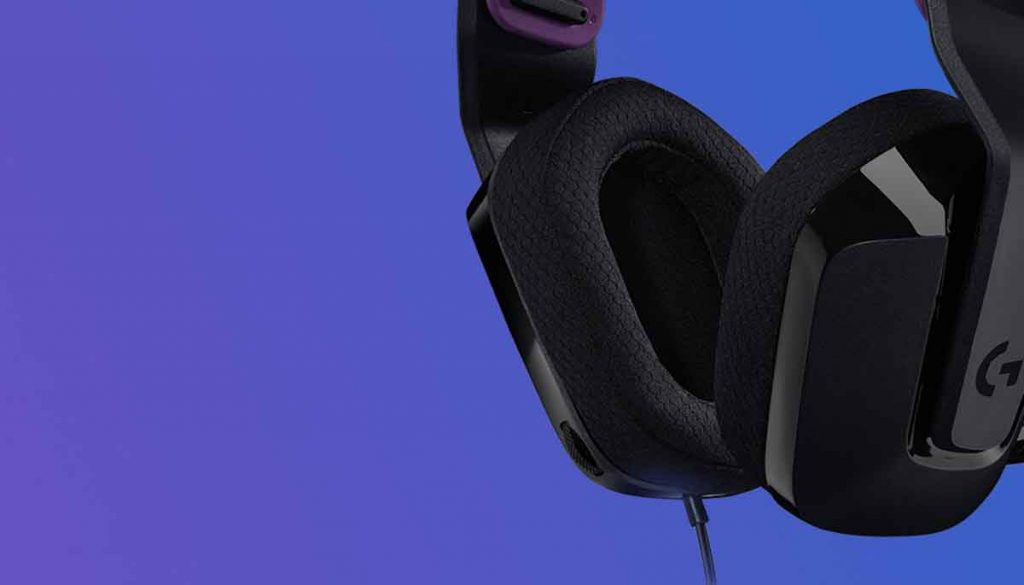
Recently somebody asked on Reddit that my Logitech g430 mic stopped working, what should I do now to fix it? Well guys, if you are also in this weird situation and don’t know the reasons behind randomly stops then we will help you.
We discussed with a number of tech experts and read the troubleshoot guide. So we are good to provide you some working solutions which can fix the Logitech g430 mic stopped working issue.
So it doesn’t matter on which device you facing the issue. The below given solutions will work on all devices like Windows 10, Windows 11. And if the issue is related to Logitech G430 drivers then well let you know how you can update it.
Table of Contents
How to Fix Logitech g430 mic stopped working
If your Logitech G430 microphone has stopped working, there are a few things you can try to fix the issue.
Fix 1: Enabling access to the microphone in Windows 10/Windows 11
Because you need to have the microphone turned on in order to access it, this essentially becomes the first step that you take when the Logitech G430 microphone is not functioning properly. To accomplish this, carry out the actions outlined below.
- Step 1: Navigate to the Settings menu in Windows or press the Windows logo key along with the letter I on your keyboard.
- Step 2: Select the Privacy option. In this window, select the Microphone option from the panel on the left.
- Step 3: Check to see if the “Microphone access for this device is on” option is enabled or disabled under the Microphone heading. If it is not activated, you will need to adjust the settings and plug the microphone back in.
It happens occasionally that the microphone access will turn itself down as soon as the plug is reinserted. Because of this, the first step that needs to be completed is this one.
Fix 2: Run the Hardware and Devices/Audio Troubleshooter to fix the problem
You can try running the troubleshooter that Windows 10 gives you with by default in order to clear up any minor or common technical faults that the system may be experiencing. Because of this,
- Step 1: In the “Start Search” box, type “Troubleshoot,” and then click the “Troubleshoot” button.
- Step 2: Navigate to the Hardware and Devices menu, and then click “Run the Troubleshooter.”
- Step 3: Navigate to the Playing Audio section and start the Troubleshooter there.
- Step 4: is to navigate to the Recording Audio menu and then to start the Troubleshooter.
- Step 5: Navigate to the Speech section and start the Troubleshooter there.
Putting all of the troubleshooters for the Logitech G430 microphone into action at the same time can help you sort out the problem of the microphone not working.
Fix 3: Bring Your Audio Driver Up To Date
It’s possible that the malfunctioning microphone on your G430 is due to an out-of-date driver or the absence of an audio driver. Therefore, you have the option of manually or automatically updating the audio driver on your computer. When using the manual method, you will need to go to the website of the sound card manufacturer in order to download and instal the most recent version of its software.
Try using Smart Driver Care if you are unfamiliar with the process or if you want to automate the process of updating the audio driver on your computer. This software will assist in repairing the issue that prevents the Logitech G430 mic from functioning properly. It is able to detect the system requirements with ease, display the appropriate driver, and update any drivers that are out of current. Additionally, by choosing the “Update All” button on the software’s main window, you may bring all of the other drivers, with the exception of the audio driver, up to date.
Fix 4: Check the Sound Settings Once Again
While we are giving the malfunction of the Logitech G430 microphone a great deal of attention, we fail to perform even the most basic check of the Sound Settings. These configurations have the potential to be the root of the problem; thus, let’s figure out what has to be done.
- Step 1: is to look for the speaker icon on the taskbar, right-click on it, and then select Open Sounds from the menu that appears.
- Step 2: Navigate to the Playback tab and check to see if the Default Device checkbox is selected for your microphone. If not, choose the option you want to be the default, and then click the OK button.
- Step 3: Navigate to the Recording tab, right-click anywhere on the screen, and select the “Show disabled devices” option from the context menu. If you find the name of your microphone on it, right-click on it, and select the Enable option from the context menu. After it has been enabled, right-click on it once more and select “Set as the default device” from the context menu.
- Step 4: Once more, use the right mouse button to select Properties after right-clicking on the Logitech G430 microphone.
- Step 5: Once you are here, navigate to the Levels menu and turn the volume all the way up.
This technique is effective in adjusting the loudness as well as the audio output level to a significant degree.
Fix 5: Uninstall & Reinstall Logitech Game Software
If you are still having trouble getting the Logitech G430 microphone to function after attempting the solutions outlined above, you can try deleting the software and then installing it again. This approach, despite its seemingly complicated appearance, has shown to be successful for many people in resolving the issue.
You can uninstall the Logitech game software by using the programme that is considered to be the best uninstaller software for Windows. After that, you can install the most recent version of the software by going to the website for the manufacturer. This new version of the software supports not only microphones but also any other supported devices, such as keyboards, cameras, and so on.
That’s all about the Logitech g430 mic stopped working.
If none of these solutions work, the problem may be with the microphone itself. In this case, it would be best to contact Logitech’s customer support for further assistance via phone or email and guys don’t forget to share this troubleshoot guide with others on social media platforms.


More Stories
Rift s mic not working – 5 Solutions to Fix it
How to update Oculus Rift S drivers
What to Look for When Buying Wireless Earphones as a Gift for Loved Ones